Transport
Transport is vehicles used to perform work tasks. For example, transport may include passenger cars for moving mobile employees around the territory and special equipment (trucks and others).
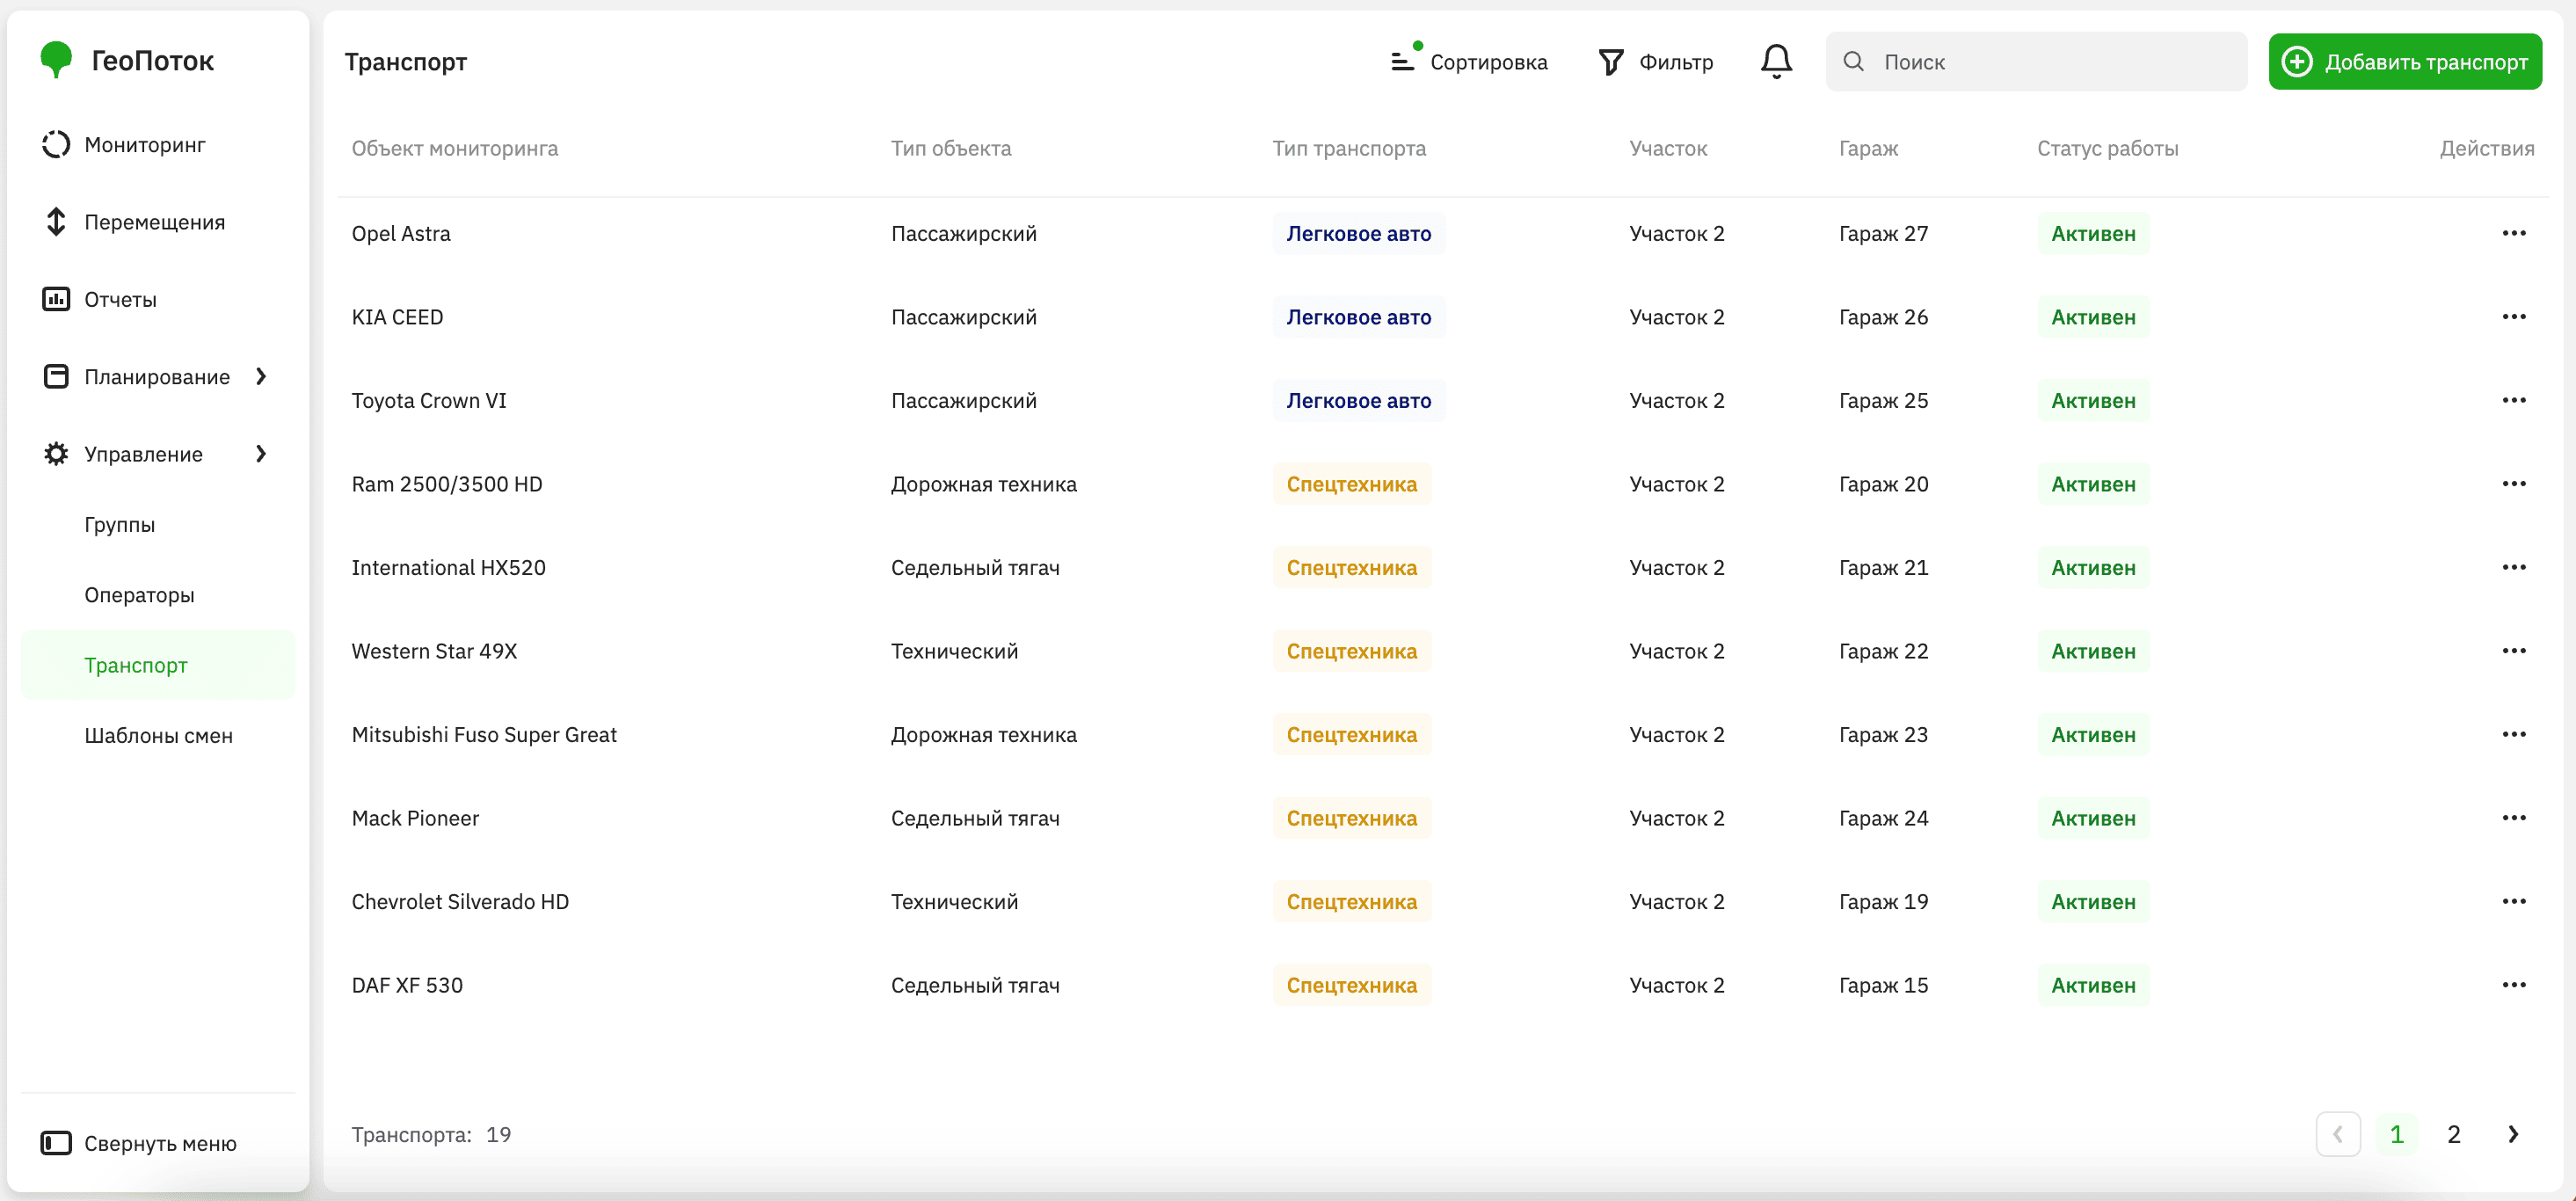
You can work with transport on the Management → Transport tab (the name of the tab may vary in your project):
Important
This section provides screenshots with examples of the interface in Russian.
Adding transport
By default, the list of transport is imported into the administrator web panel during the 2GIS GeoFlow integration. You can expand this list.
-
Go to the Management → Transport tab.
-
Click Add transport.
-
Specify transport parameters (the set of fields or their names may vary in your project):
- Terminal ID (mandatory parameter): sensor used to receive the GPS signal.
- Brand (mandatory parameter): vehicle brand.
- Model: vehicle model.
- License plate (mandatory parameter): registration plate number of the vehicle.
- Color: vehicle color.
- Driver: full name of the driver to whom the vehicle is assigned.
- Section: structural unit of the organization where the vehicle operates. By default, the list of sections is imported into the administrator web panel during the 2GIS GeoFlow integration.
- Object type: vehicle type (passenger car, dump truck, road equipment, etc.).
- Garage: garage (parking facility) where the vehicle is assigned. By default, the list of garages is imported into the administrator web panel during the 2GIS GeoFlow integration.
- Garage number: additional garage number.
- Owning company: name of the company that owns the vehicle (e.g., if contractor transport is used).
- Transport type (mandatory parameter): vehicle type.
- Work status (mandatory parameter): ability to add the vehicle to shifts (
Activemeans the vehicle can be added,Inactivemeans the vehicle cannot be added). - Description: additional information.
-
Click Add transport.
Viewing transport information
- Go to the Management → Transport tab.
- Open the card of the required transport. You can search by transport name, sort a list alphabetically or by date, and filter by section, transport type, garage, and work status.
In the transport card, the following information is displayed (the set of fields or their names may vary in your project):
- Monitoring object: vehicle name (e.g.,
Scania F000GH). - Terminal ID: sensor used to receive the GPS signal.
- Brand: vehicle brand.
- Model: vehicle model.
- License plate: registration plate number of the vehicle.
- Color: vehicle color.
- Driver: full name of the driver to whom the vehicle is assigned.
- Section: structural unit of the organization where the vehicle operates.
- Object type: vehicle type (passenger car, dump truck, road equipment, etc.).
- Garage: name and number of the garage where the vehicle is assigned.
- Garage number: additional garage number.
- Owning company: name of the company that owns the vehicle (e.g., if contractor transport is used).
- Transport type: vehicle type.
- Work status: ability to add the vehicle to shifts.
- Description: additional information.
- View on the map: click to open the current geolocation of the vehicle on the map. Available only if the vehicle is on shift.
Editing transport information
You can edit transport information:
- basic data (brand, model, vehicle type, and other data)
- work-related data (section, garage, work status, and other data)
- general description
To edit transport information:
- Go to the Management → Transport tab.
- In the transport list, click
 icon next to the required transport and select Edit.
 - Apply changes to the transport information.
- Click Save changes.